Build a game (with explosions!)
 ajs256
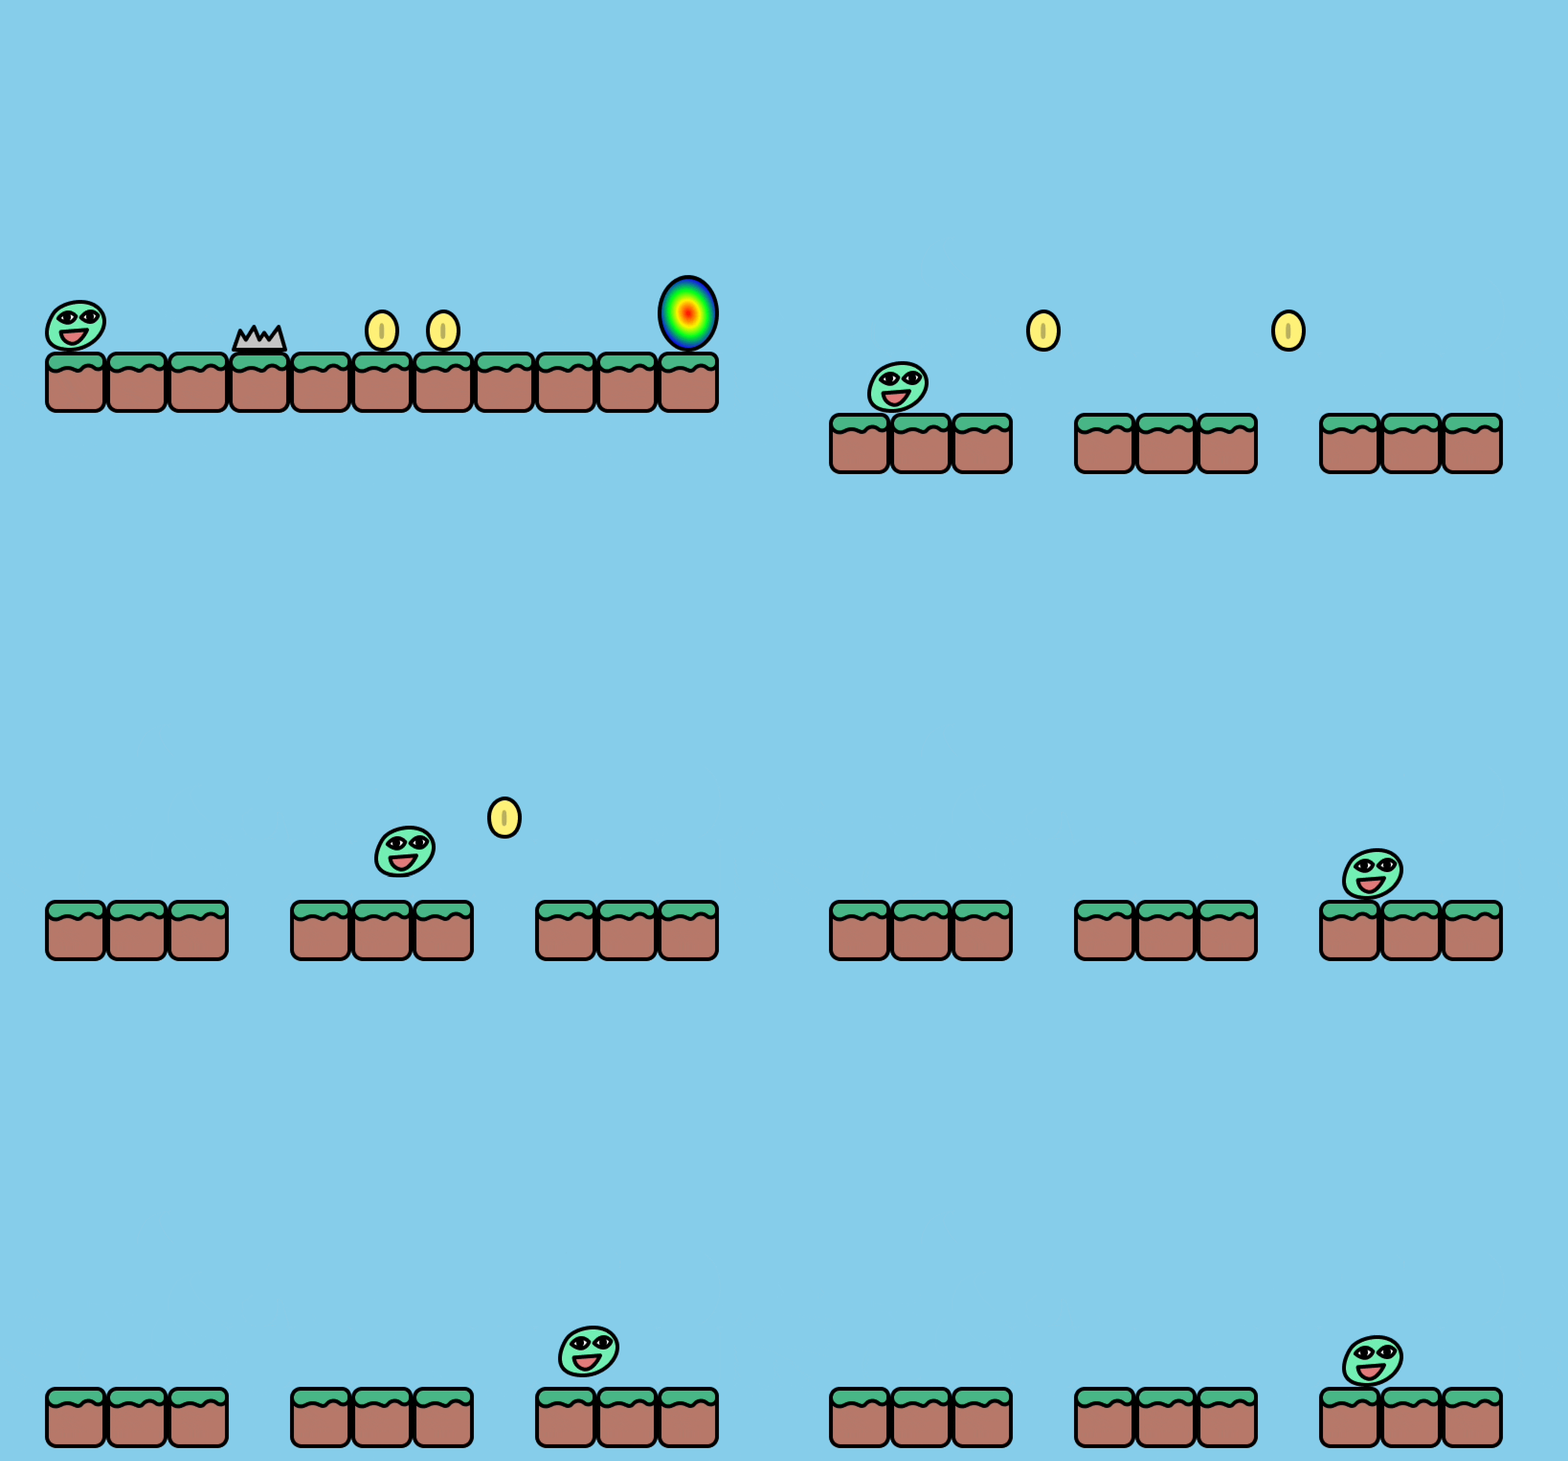
Hello!! In this Jam, you will be designing and building a web game. When you're all done, it'll look a bit like this:

So how are we gonna do this?
Here are the steps we'll go through to build your own game:
- Get started with Glitch
- Start with a simple template game
- Add more levels to the template
- Share your game!
Get set up
First, let's get started on 🎏 Glitch.
- Go to glitch.com and click
Sign Up.
- Choose how you'd like to sign up - you can use a GitHub account or a Google account, or if you don't have either, click
Email Magic Linkand you'll get a link and code in your email. - Either click the link in the email or enter the code from the message in your browser.
- Wahoo! You're ready to code!
Start coding
Now, it's time to code!
Start by remixing my template. Head to https://glitch.com/~kaboom-game-template, then scroll down and click Remix your own below the preview. Now you've got your own code editor!
Before we go any further, let's take a look at the structure of a Kaboom game.
kaboom()
Every Kaboom game's code will start with this - it initializes the library and gets everything set up. Here's what it looks like:

Pretty boring. Let's get some action going!
loadSprite("bean", "https://cdn.glitch.global/6e7edbfb-3679-4519-bb57-df3008b83592/bean.png?v=1688618964513")
This loads in a sprite so you can use it later. You pass in a name for the sprite (here, it's bean) and a URL. I've included a bunch of sample sprites in the project (check the 📦 Assets tab in the sidebar!).
add([
	sprite("bean"),
	pos(80, 40),
])
This adds a sprite to the screen.

Right now, it doesn't do much. Let's change that!
const bean = add([
	sprite("bean"),
	pos(80, 40),
	area(),
	body(),
]);
In Kaboom, each game object is composed of multiple components. Each component will give the game object certain functionality.
A game object is basically any character in the game, like the player character, an enemy, a rock, or a cloud.
For example, there might be a component to decide the shape of an object, whether gravity affects it, its color or even how much health it has. Let's take a deeper look at that sample:
- The
const beanpart saves the object we're making, so we can refer to it later. You don't always need to do this, but for parts you need to use again later, it's super useful. - The
add()method wraps all the components together, a bit like the tortilla of your object burrito. sprite("bean")tells Kaboom "render this object with thebeansprite I loaded earlier".pos(80, 40)gives it a position, at X=80, Y=40.area()gives it an area that can collide with other objects.body()gives it a physical body, which makes it affected by gravity and lets it jump.
Now, head back to your code. You'll notice I've left a comment in the code with some steps to make the game work better. Try to fill them in! If you need help with one, check below.
Once you're done, your game should look a bit like this:

Psst.. here's a tip. Hit F1. See all those blue boxes? Those are the collision areas of each object in your game. Now hover over one of those objects. Now you can see every object's components! It's a bit like those x-ray specs that there used to be ads for in comic books, but it actually works.
(Did nothing happen? If you're on macOS, hold the fn key as you press F1. If you're on Windows or Linux, try toggling Fn Lock.)
Add another level!
Now, let's add another level to our game. Find this section of the code:
const levels = [
[
// Design the level layout with symbols
"@  ^ $$",
"=======",
],
// TODO add more levels
]
Try duplicating everything within the inner set of brackets and designing a new level!
But how does Bean get to the next level? I'll leave this as an exercise for you.
Add more stuff!
You can also add more sprites, some sound effects, or even change the look of the entire game! Check out the Kaboom docs for documentation on how to use every feature of the library, and the playground for examples!
Sharing your game
Now that you've made the perfect game, it's time to let others play it. Just follow these steps: (On my end, I've had issues with the "Edit project details" menu. This works a lot better for me.)
- Click
🎏 Settingsin the top left, above the file list. - Click
Go to project page - On that page, click
👆 Edit details - Enter your new project name, then save it!
- Click the
Edit projectbutton to get back to coding.
To get a link that your friends can use to play your game, click the big purple Share button at the top, then copy the Live site link.

Congratulations! 🎉 🎉 🎉Share your final project with the community