Presentation
Video
3D printing
40 Min
BakeBuild
🎉 BakeBuild: Shape Your Sweet Wonder! 🍪
BakeBuild is your chance to turn imagination into a snackable reality! In this Hack Club YSWS (You Ship We Ship) event, you’ll design a custom cookie cutter, see it come to life through 3D printing, and have it shipped to your doorstep—complete with a cookie made using your unique design.
What you will be doing here
- You will
- Learn the basics of CAD by designing and creating your own cookie cutter
- Get your cookie cutter printed out
- Get cookies!!!!
Getting Started
- First, sign up or log into Onshape
- Once you’re signed in, create a document and name it “Cookie Cutter” or something else relevant
Picking a design
- Decide what you want to do
- Talk to your friends and brainstorm ideas
- Sketch an outline of it using either digital tools or paper
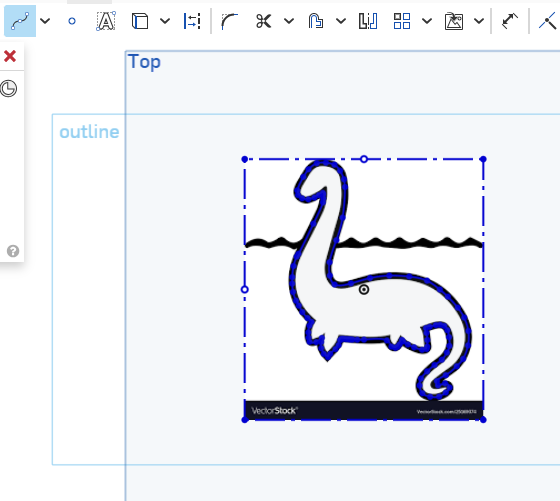
- Find something that has a simple outline, like this loch ness monster!

- Once you’ve got your outline, save an image of it to your computer and return to Onshape!
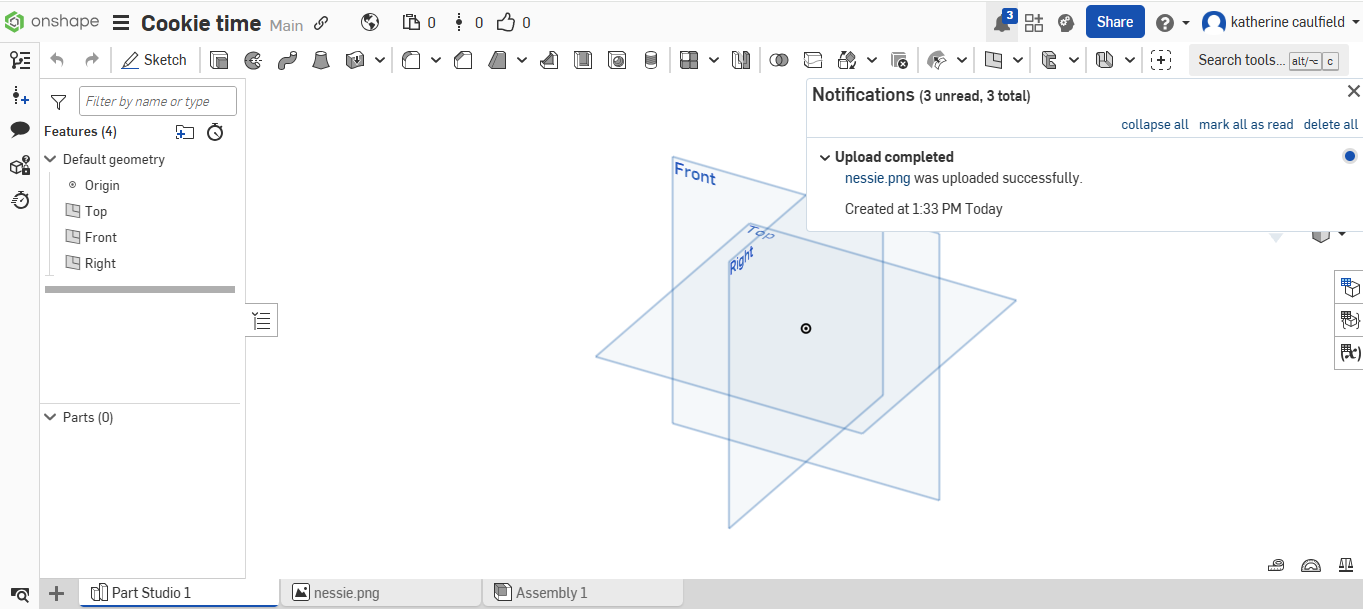
Importing the image into onshape
- Now that you have your template, we can start designing!
- Click the plus sign next to studio parts (far right bottom corner)
- A dropdown menu should appear
- Click on the last option “import”
- Select your chosen file and click “open”
- A loading bar will appear and tell you once your image has been successfully imported
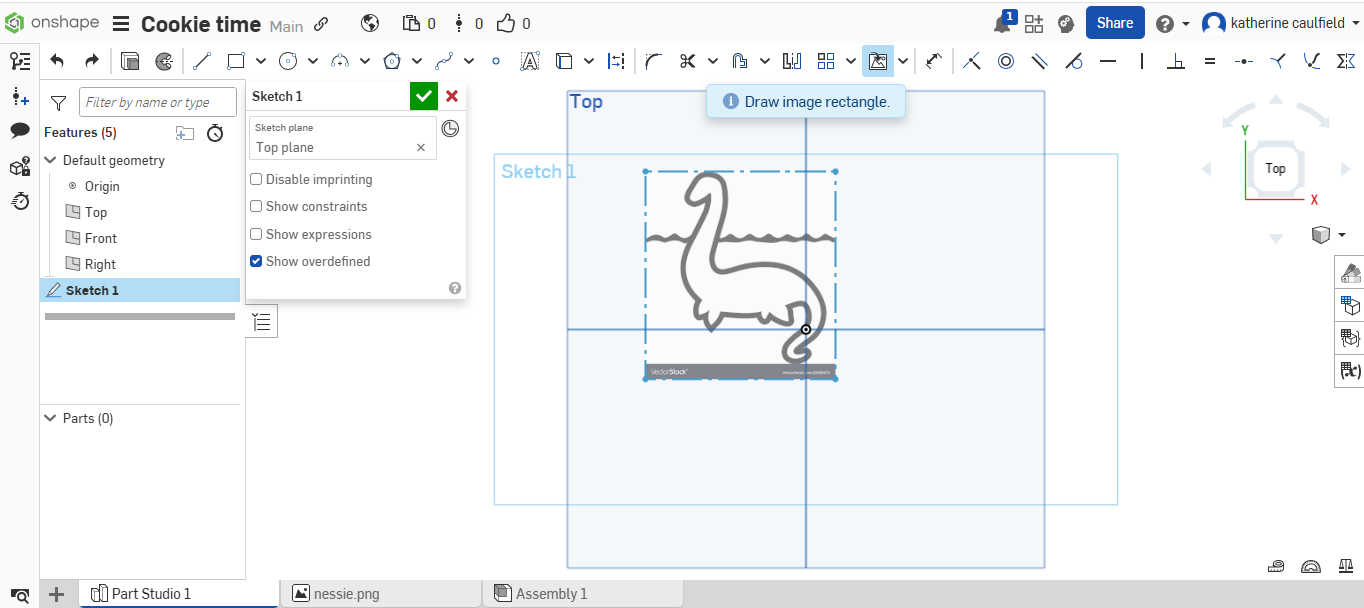
Insert the picture
- Now it’s time to add the image!
- Create a sketch on the top plane and insert the photo
- Using the dropdown from “Insert DXF or DWG,” click on “Insert Image”
- An option to insert an image will appear
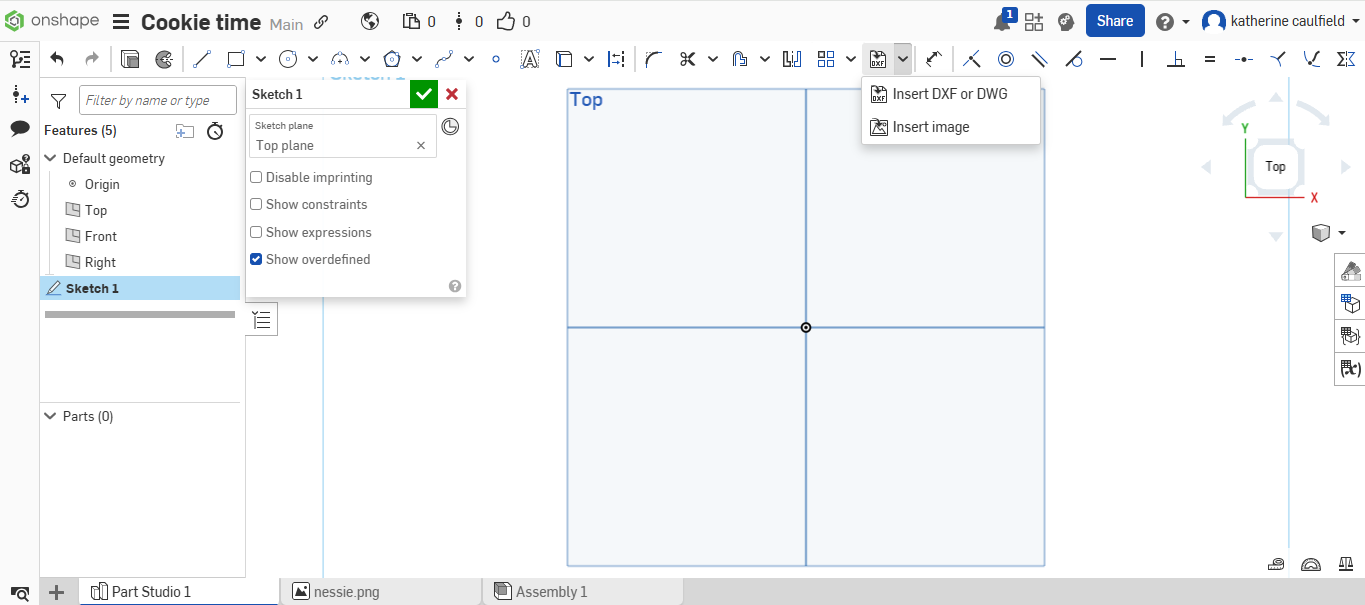
- Choose your image from the pop-up
- Click on the pane you want to drag to draw your image
- DO NOT CONFIRM YOUR SKETCH YET
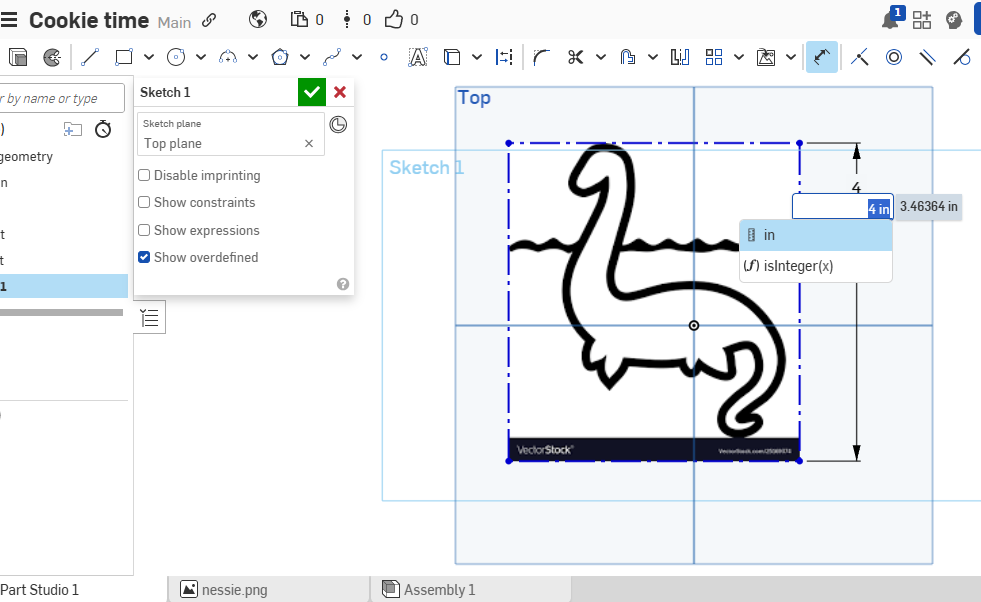
Dimension
- Use the dimensioning tool to change the size of your picture
- In general, your outline probably shouldn’t be over 4in x 4in or 100mm x 100mm
Tracing
- Once you have your image inserted and properly dimensioned, you can start tracing!
- Use the spline tool and click along your outline to trace it out!
- Note that you can edit the points of your spline after confirming it but you cannot undo any (DO NOT TRY UNDOING WHILE MAKING THE OUTLINE)
- Once you’re happy with your outline, confirm your sketch by clicking on the green checkmark
3D time
- Once your sketch is confirmed, click the extrude tool and choose “thin”
- Then select the outline of your sketch
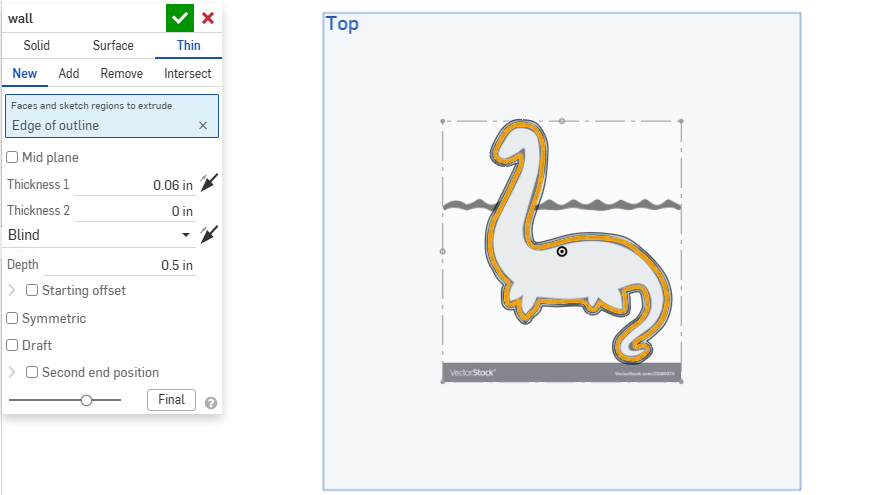
- Now you can change the thickness
- I find that 2mm/.08in work best
- Then choose the depth
- You’re going to want this to be about 12.7mm/0.5 in
- Confirm the Extrude
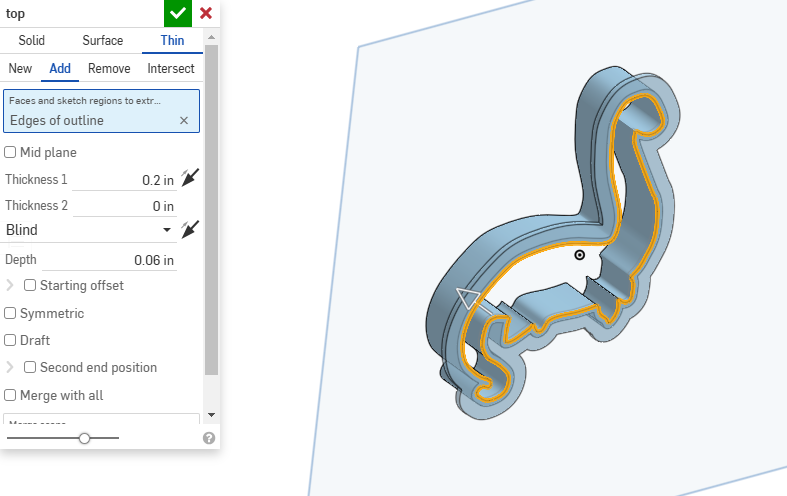
Pretty little border
- Click extrude again
- Select the bottom side of the extrude and use thin to make a pretty border
- Thickness ~ 5mm
- Depth ~ 2mm
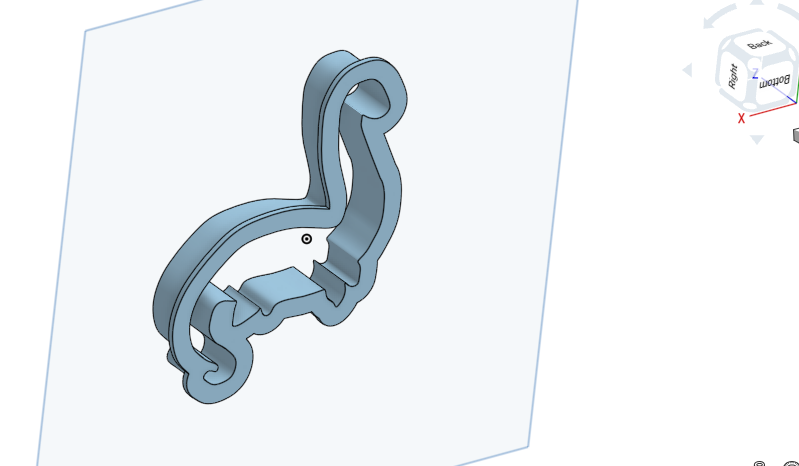
ADMIRE IT!
- Look at your finished design!
- Isn’t it pretty?
- Feel happy and proud
- …until you realize that there is still more page to scroll
Screenshot
- Take a screenshot of your design (like so) and save it to your computer
- You will need this for submission
Export
- Now it’s time to export it!
- Right click the “part studio” tab where you made your whole design
- Select “export”
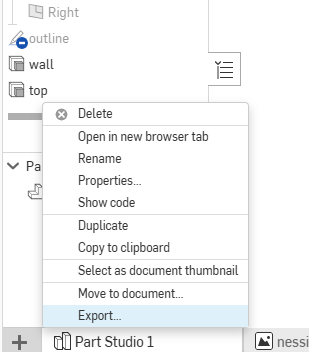
- A pop up will appear
- Name your file something relevant and boring like “Cookie Cutter” again
- Select “STEP” for the format
- Click the blue export button
- You should now have a STEP file of your cookie cutter saved to your computer
Submitting
- Fill out the form.
You finished the Jam.
Congratulations! 🎉 🎉 🎉If you're a highschooler who enjoys programming or tinkering with hardware, make sure to join Hack Club, the world's largest nonprofit empowering teenagers to make cool projects! There's tons of programs where you can get prizes for programming, get your hardware projects fully funded and you can join the awesome community of 100k+ teenagers who love making cool stuff (just like you!).
Congratulations! 🎉 🎉 🎉If you're a highschooler who enjoys programming or tinkering with hardware, make sure to join Hack Club, the world's largest nonprofit empowering teenagers to make cool projects! There's tons of programs where you can get prizes for programming, get your hardware projects fully funded and you can join the awesome community of 100k+ teenagers who love making cool stuff (just like you!).