Crafting Weapons, Shields, and Armor in TinkerCAD
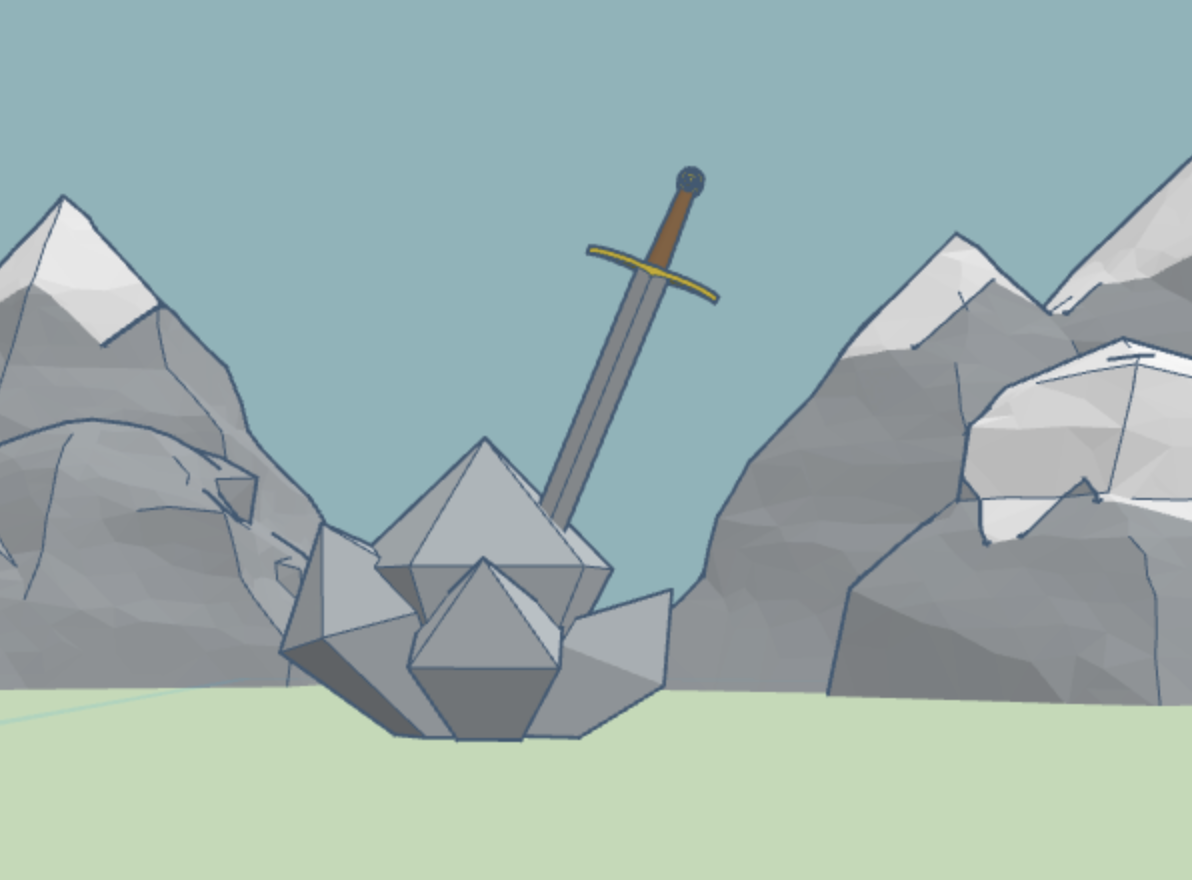
(Mountains and crystal models from TinkerCAD's Library)
(and now without scenery)
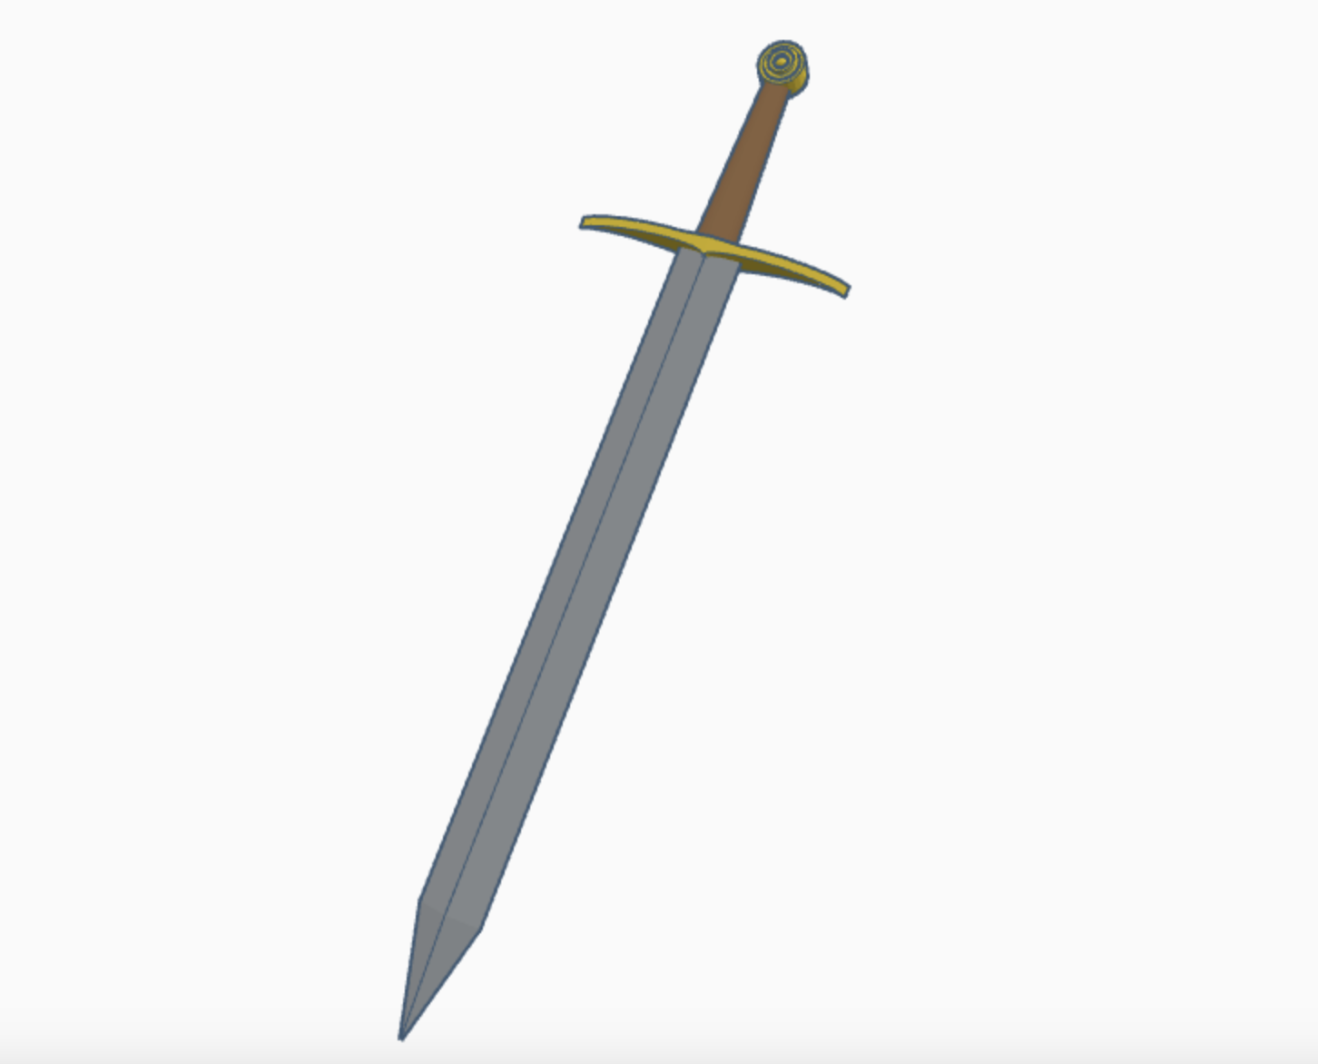
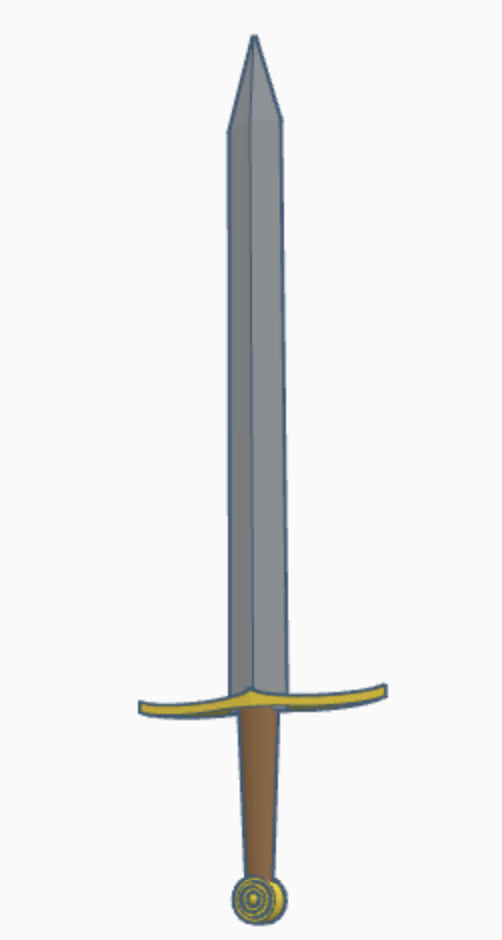
(The finished example sword. It's always possible to make more decorations!)
After you have already learned the ways to use TinkerCAD from the last part, this is just going to move much faster and utilize the things you know.
And for ease of communication, from now on I will just call the longer non-height measurement of whatever shape as the length, and the shorter non-height measurement as the width.
I'm also going to stop giving you rigid length measurements, to force you to be creative and find lengths and proportions you like.
Remember to use the handout from last time!
Outline:
- Deconstructing the Hilt (planning how to model the hilt)
- Fusing the Pieces (finally putting everything together)
- Armory of Legends (sharing your sword with your peers!)
Deconstructing the Hilt
Let's do a similar process with
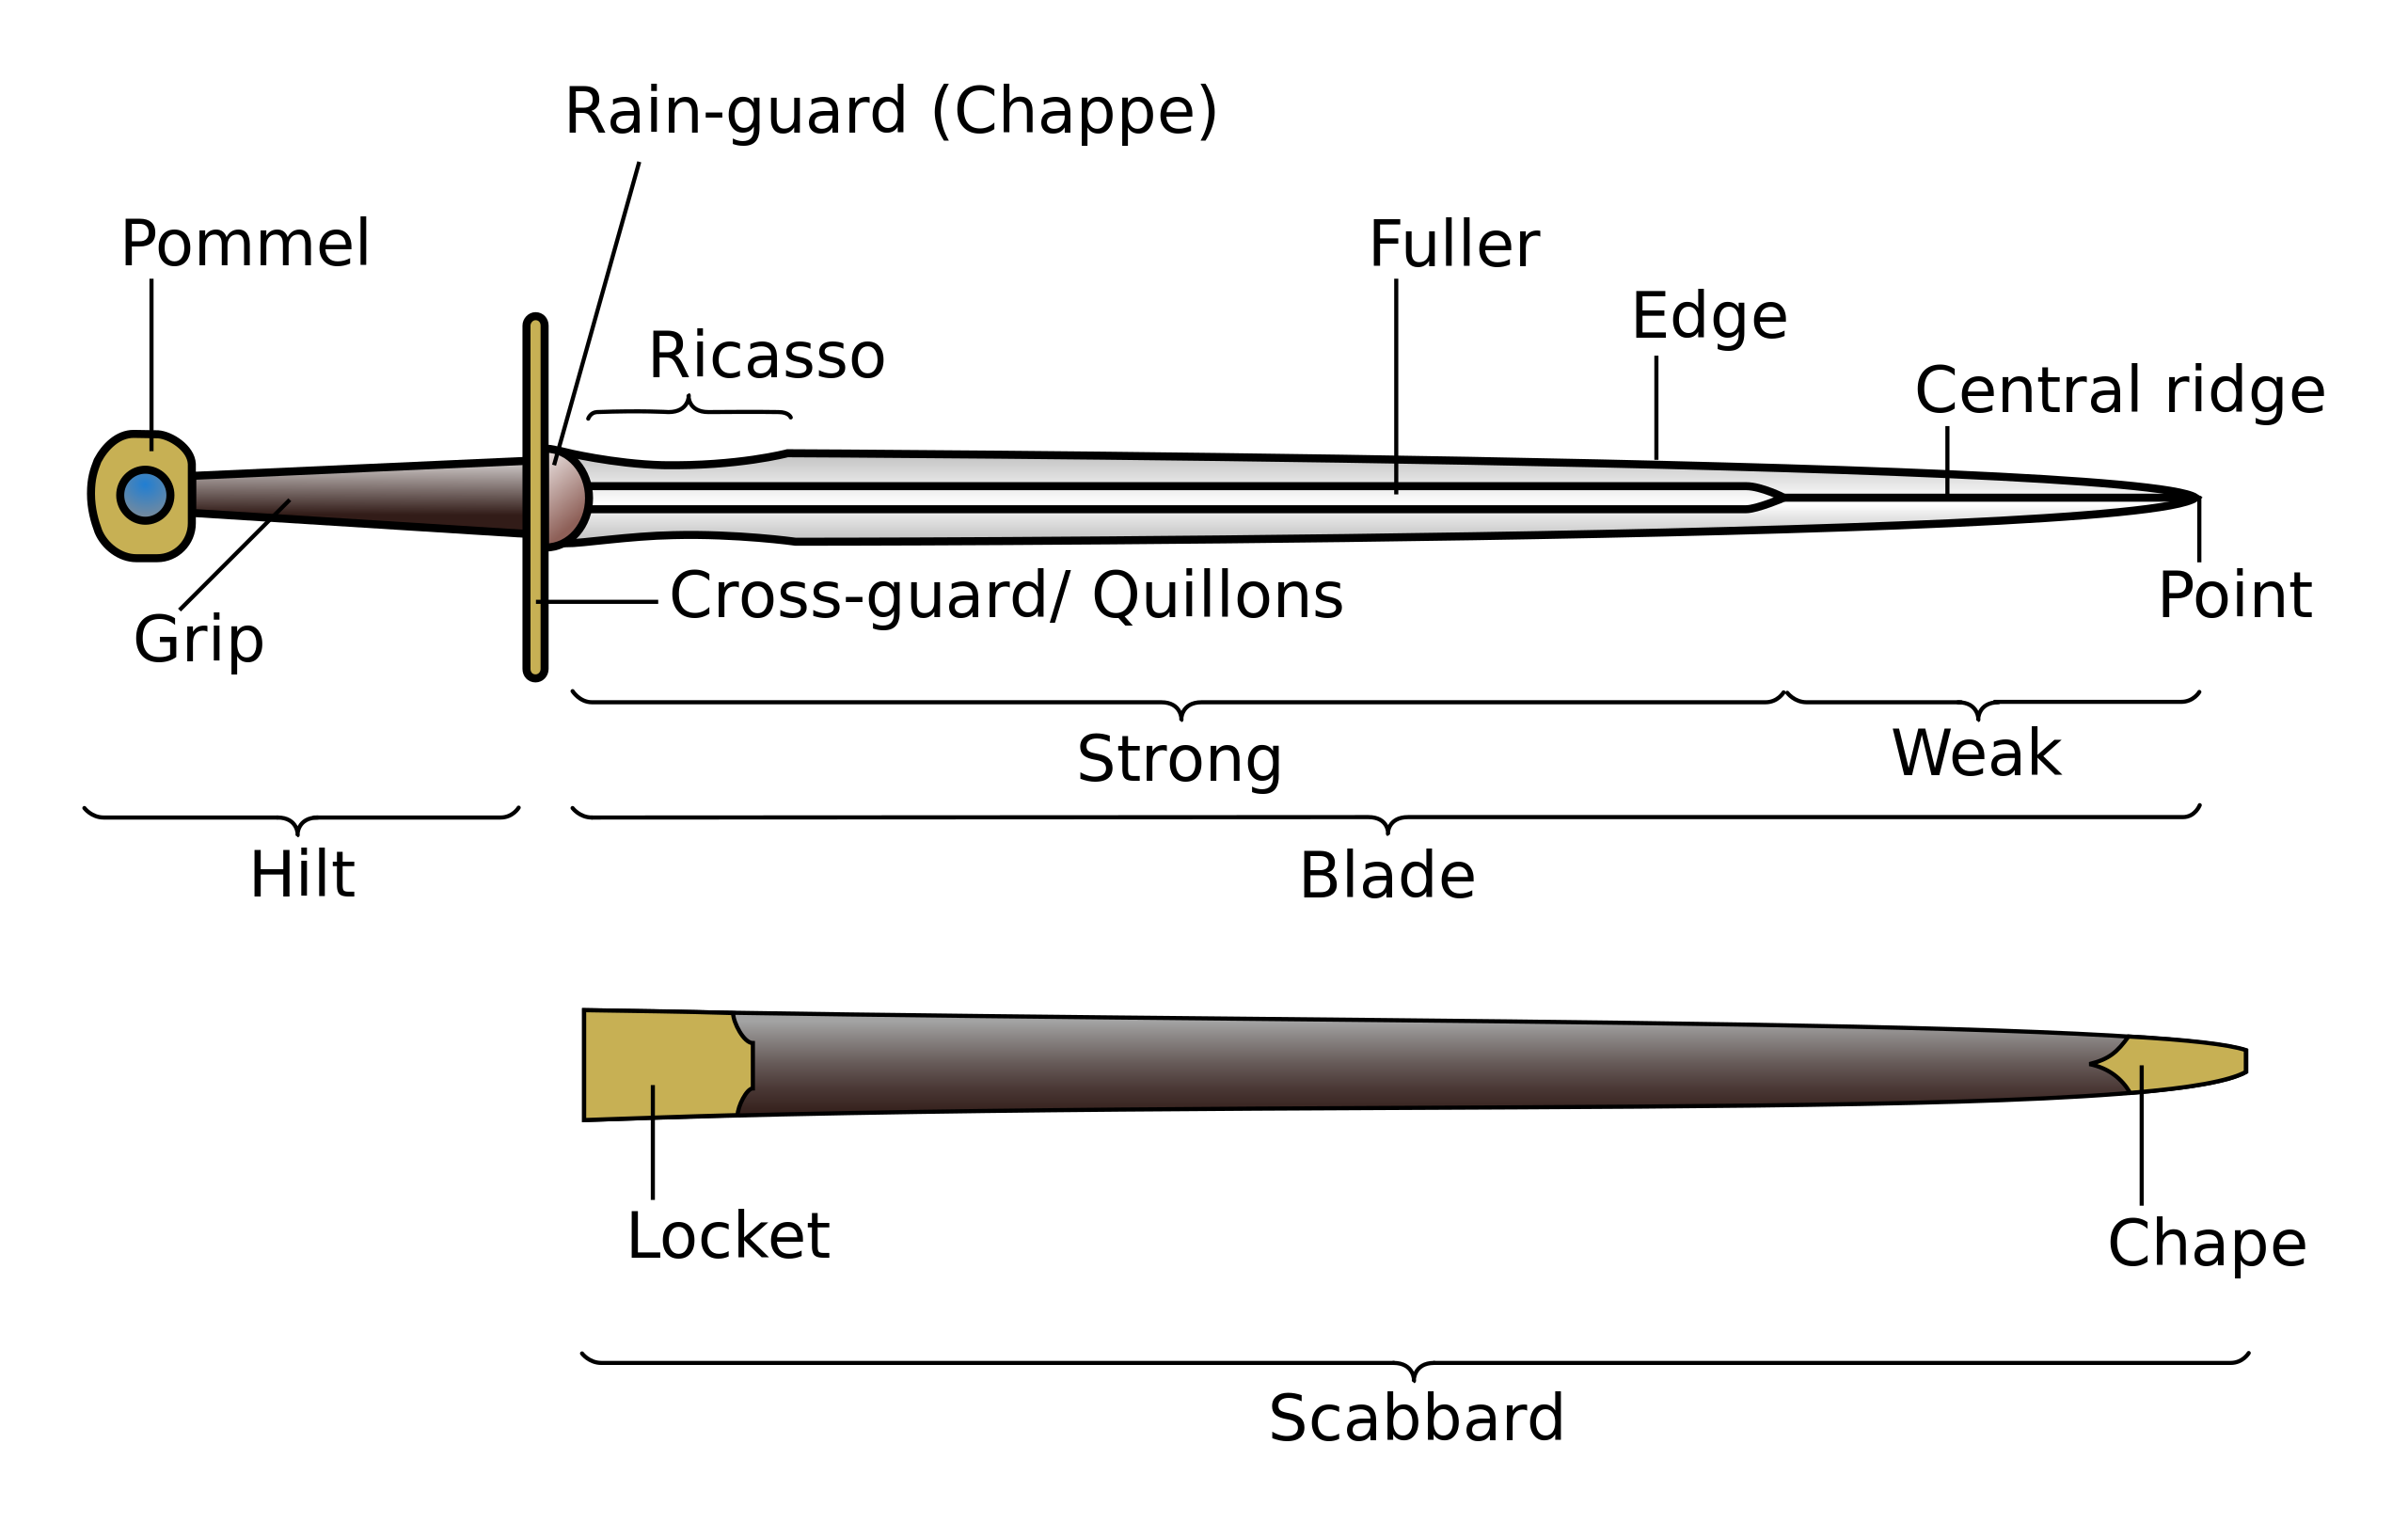
When you are modeling (like when you are programming), it's always helpful to break big items into smaller parts. Modeling individual pieces and grouping them together is always easier than trying to do the whole thing.
As such, let's break the hilt itself into the three key parts: the cross-guard, grip, and pommel.
Again, we have videos in the slides up top to guide you if you want to see how to make a basic hilt. But don't stick to the tutorial! We encourage putting as much creativity as you can muster into this project!
Here's some good resources to look at various hilts and gain inspiration! http://myarmoury.com/feature_hilts.html https://swordencyclopedia.com/sword-hilt/ https://www.metmuseum.org/art/collection/search?showOnly=highlights&sortOrder=asc&sortBy=Relevance&department=4&material=Arms
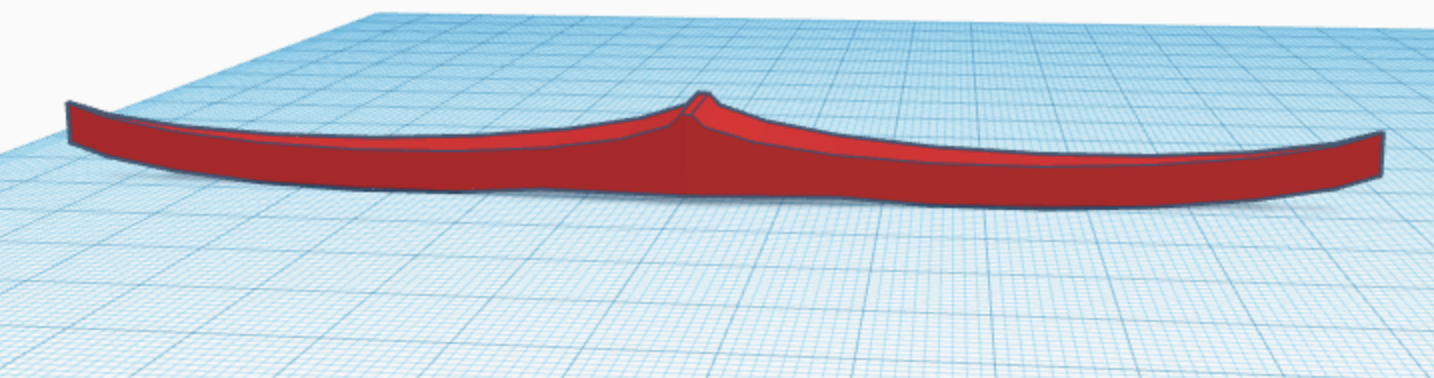
Cross Guard
Let's take a look at a real one
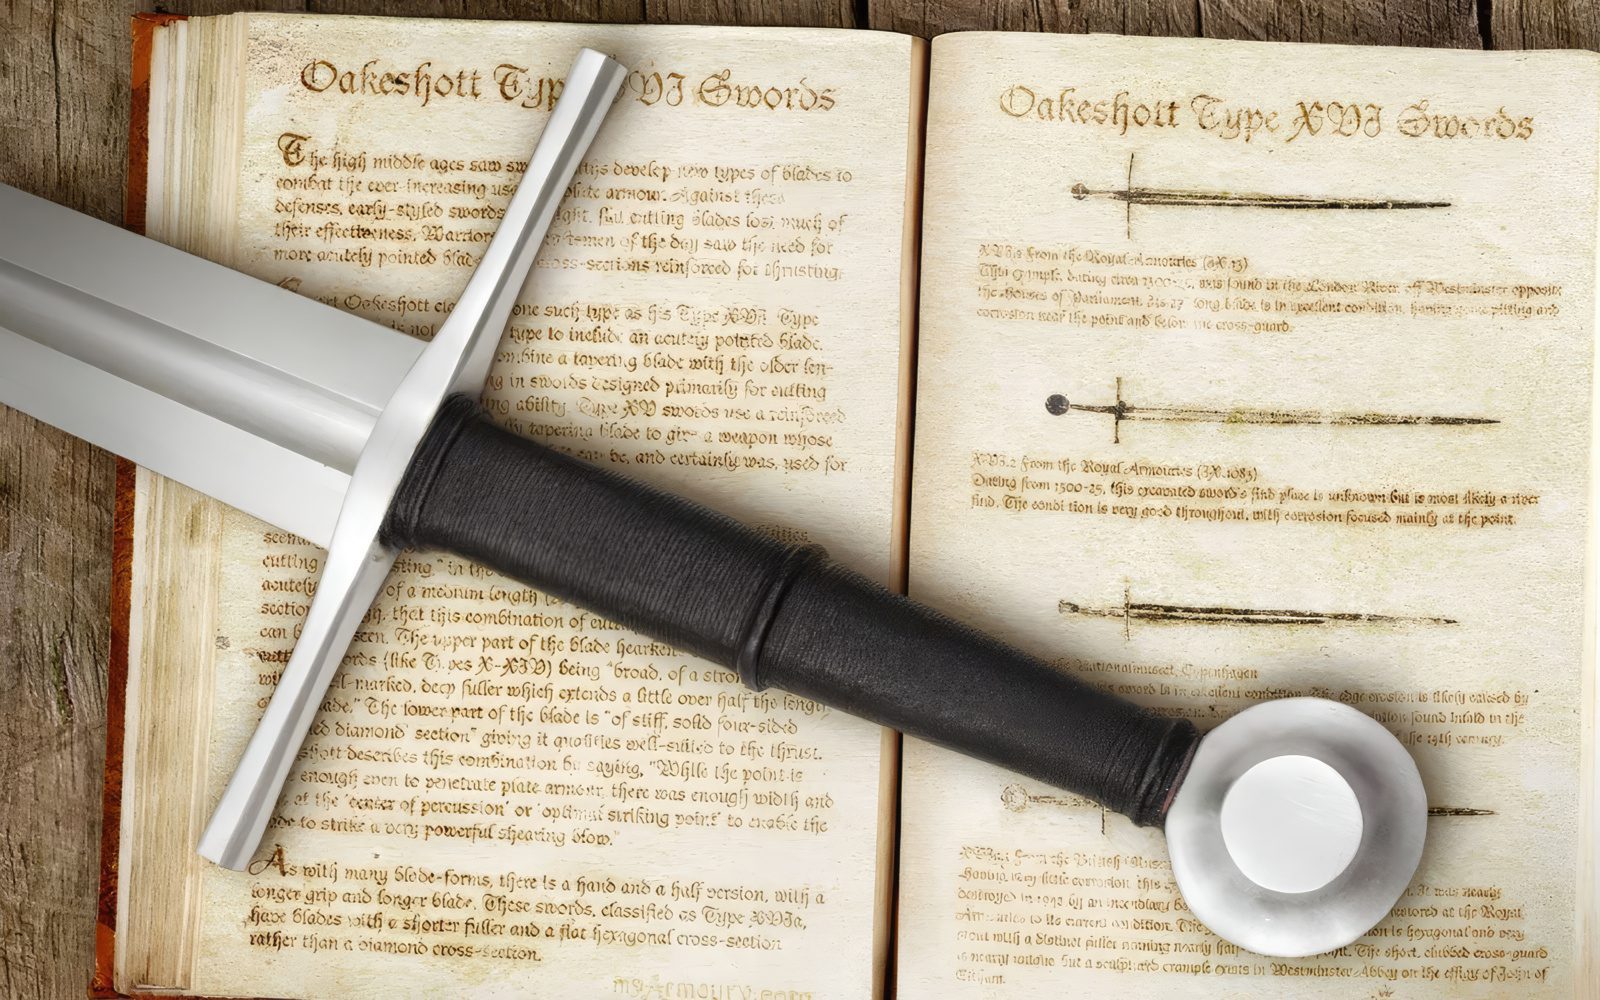
(David Mickov, 6-7-2023, "The Different Crossguard Sword Types and Styles From Europe • Sword Encyclopedia," Sword Encyclopedia, https://swordencyclopedia.com/crossguard-sword/)
It looks already quite simple, but we can make it simpler. It's basically the same as the blade (a diamond prism shape) but stretched way wider and being shorter.
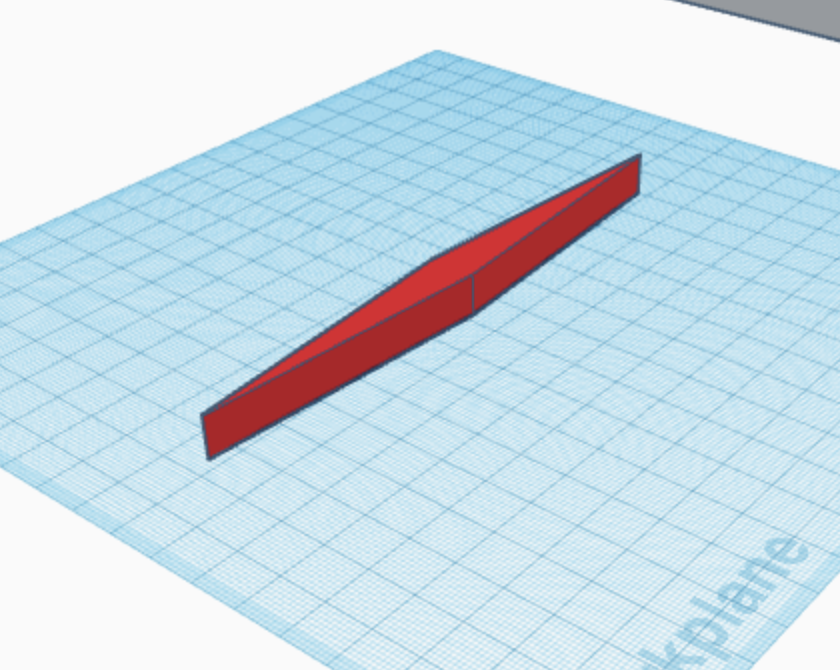
If you wanted a straight handguard, we are done. But we can do better than that.
A problem with TinkerCAD is that it's hard to curve objects that aren't already curved. However, remember that we have a lot of shapes that we can work with, and remember the three key ways we can make a weird shape:
- Combine a few shapes (Addition)
- Subtract shapes from each other (Subtraction)
- Deform another shape to make what you want (Modification)
In this case, let's try subtraction since it's hard to add a curve or do anything with deforming shapes in TinkerCAD.
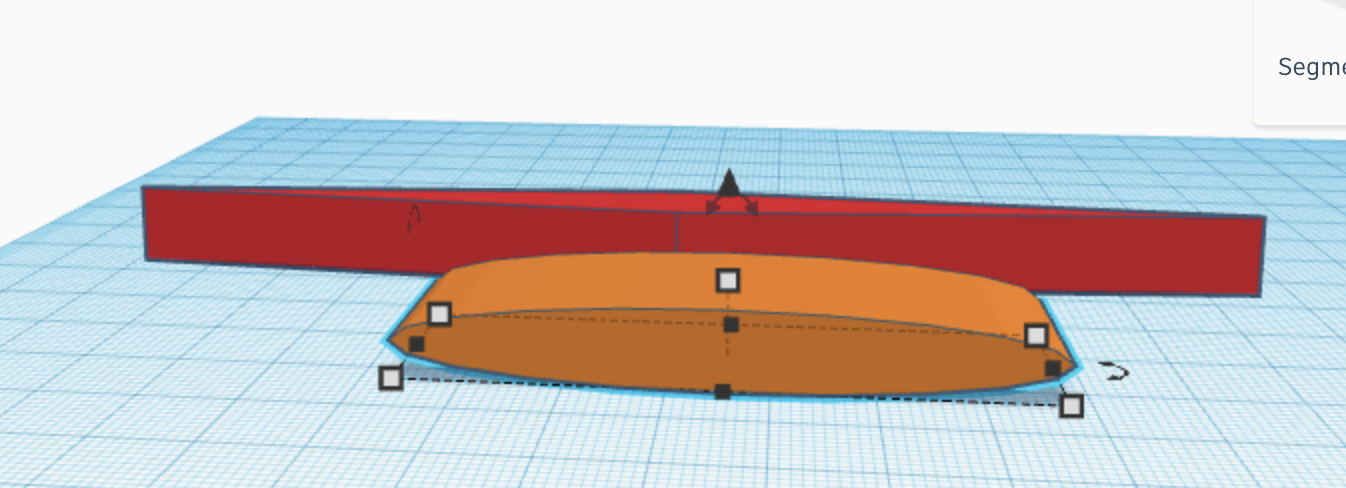
Let's grab a cylinder and rotate it 90 degrees. Stretch it out lengthwise and decrease its height to make its curve more gradual.
Let's duplicate it (either by using Ctrl C and Ctrl V, or just Ctrl D). Move it so that they are barely touching, and use our old friend the align tool to, well, align them.
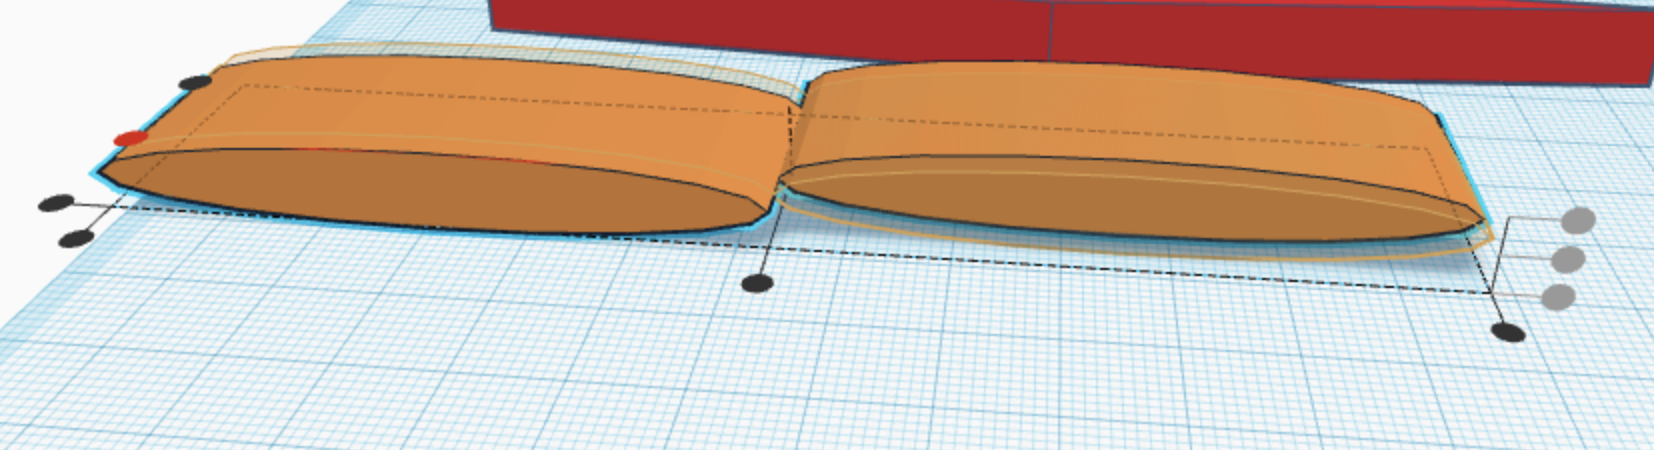
Notice how I will only click the red dot (align width-wise) and not the middle dot on the long side, since that will just make them overlap. We get this:
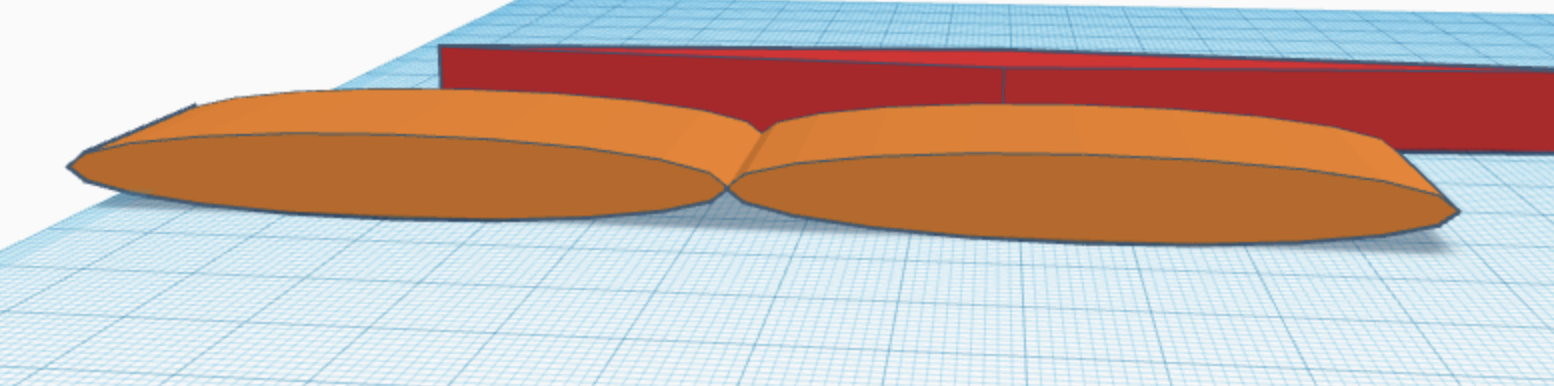
Group them, and align them with the red hilt body. You can make a few adjustments to the height and length of the cylinder abomination, and make sure to move it up a bit since we want to cut the top, not the bottom of the red shape.
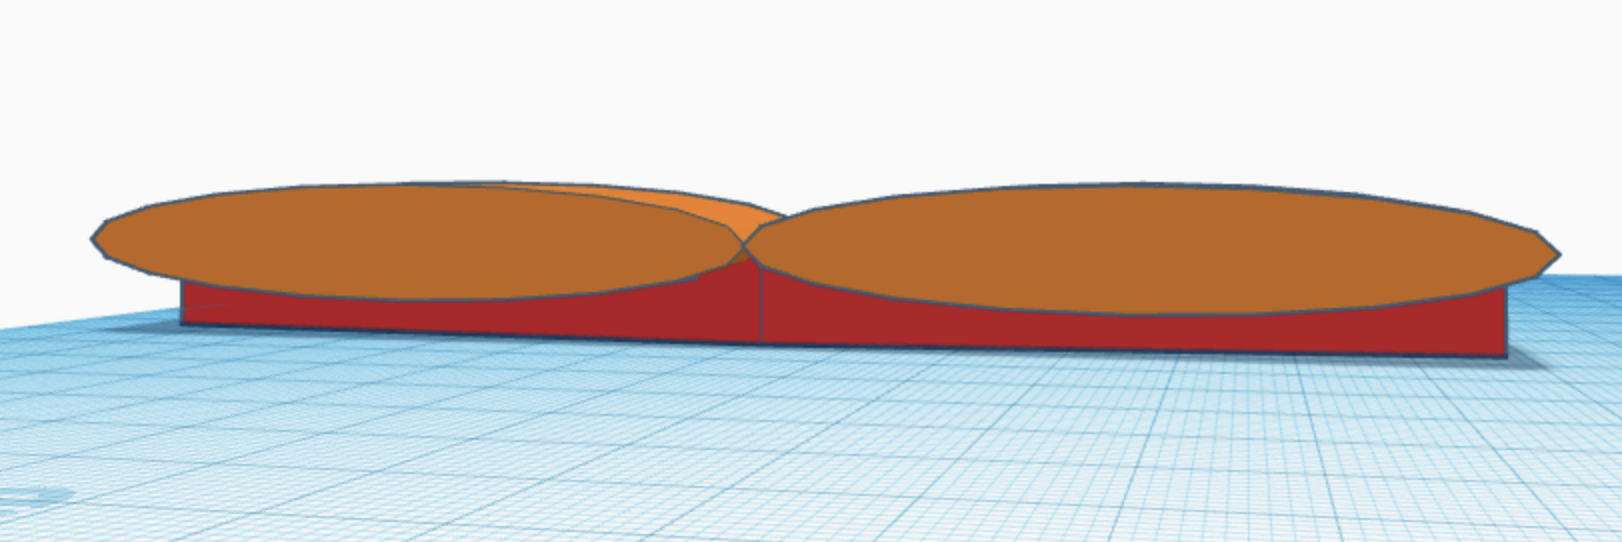
Now we address what you see here: Holes.
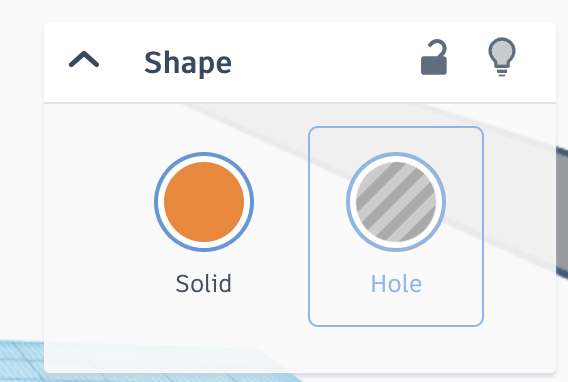
You're probably wondering how we can do subtraction, if so far all I showed you is combining two shapes into one. To that I say, we use holes.
Grouping a hole with a solid cuts holes in it. Let's make the orange shape a hole, and then use the group tool on it and the red shape.
Before the grouping:
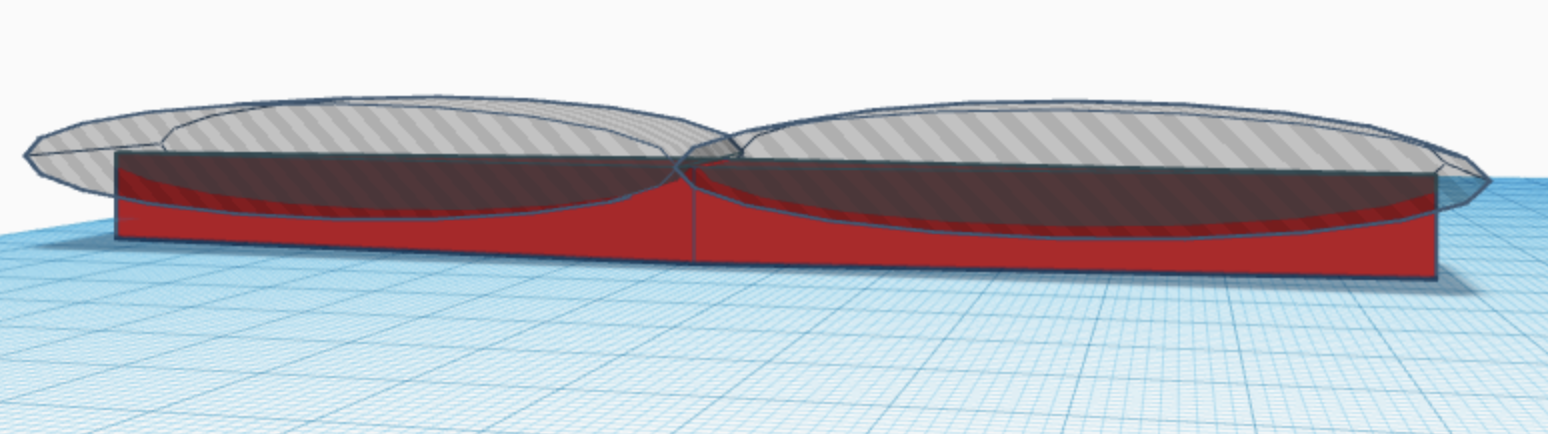
After the grouping:
A small tip with holes: remember that you can use an object you've already cut shapes out of as another hole!
Optional Challenge with this tip in mind
With this technique I made the bottom curve as well. Try to figure out how I did that as a challenge, or simply move on if you'd like.
Great! You've made it past the most difficult part! You can stay here to decorate more, but for our purposes (whether you did the challenge or not) this hilt is more than enough. Now let's move on.
Grip
This is much easier. All we need is a cylinder that shrinks as you get higher. If you want to be technical about it, this is called a frustum, or in our case a cone frustum.
... Oh wait that isn't a pre-made shape? Let's make it then!
If you search up frustum you will probably see diagrams like this:
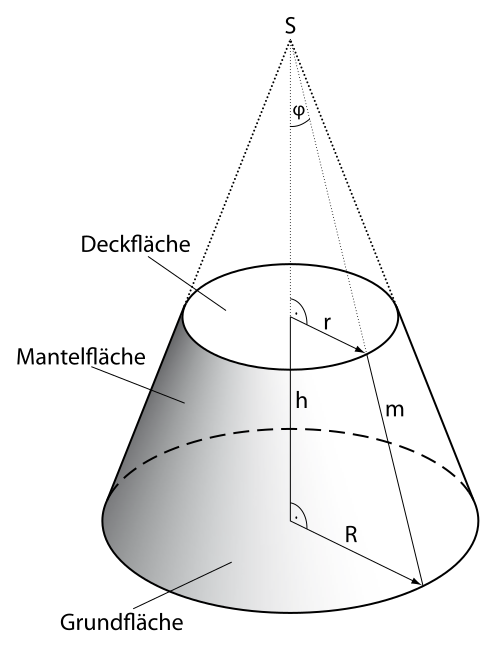
Hey, isn't that just a cone but with the tip cut out? We can do that with holes!
Since you already know how to use holes (and are probably tired with my rambling), I'm not going to elaborate much. I'll just show pictures.
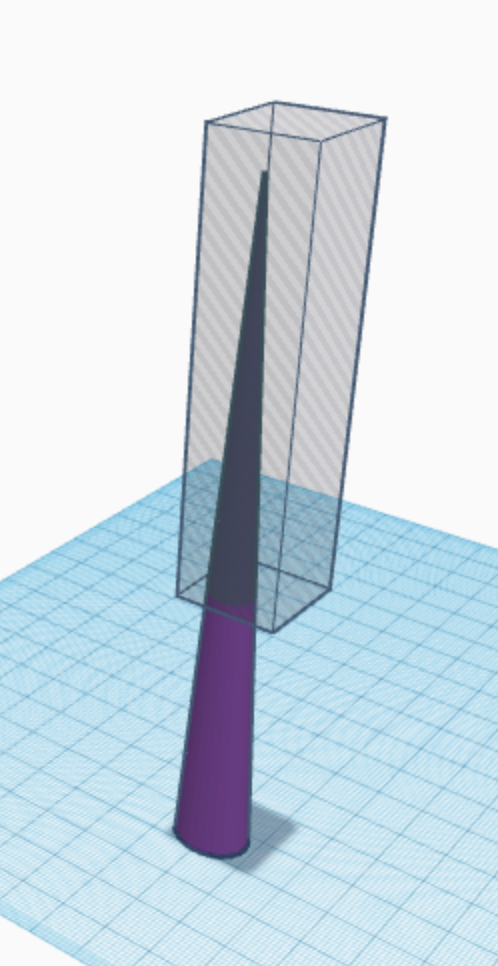
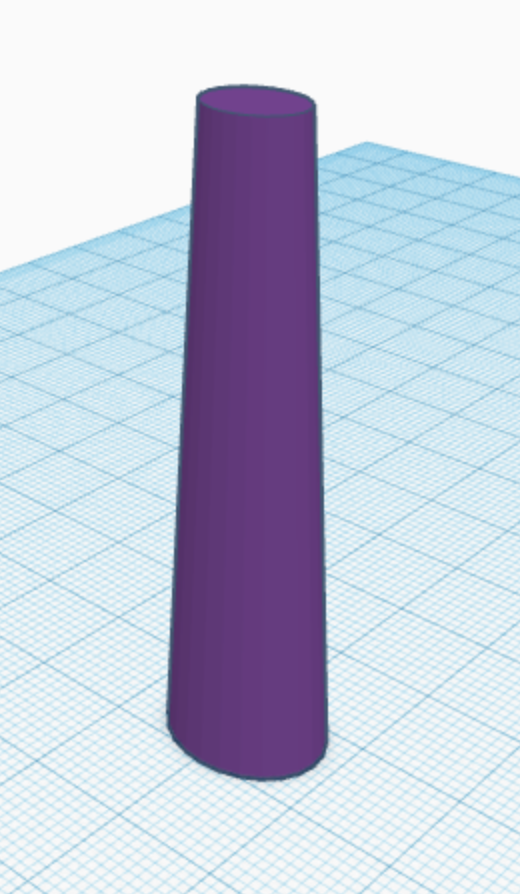
Easy right? Shapes like this gets easier and easier to identify as you model more and more.
Pommel
The pommel is probably the most flexible bit of the sword. As such, I highly suggest you come up with your original idea.
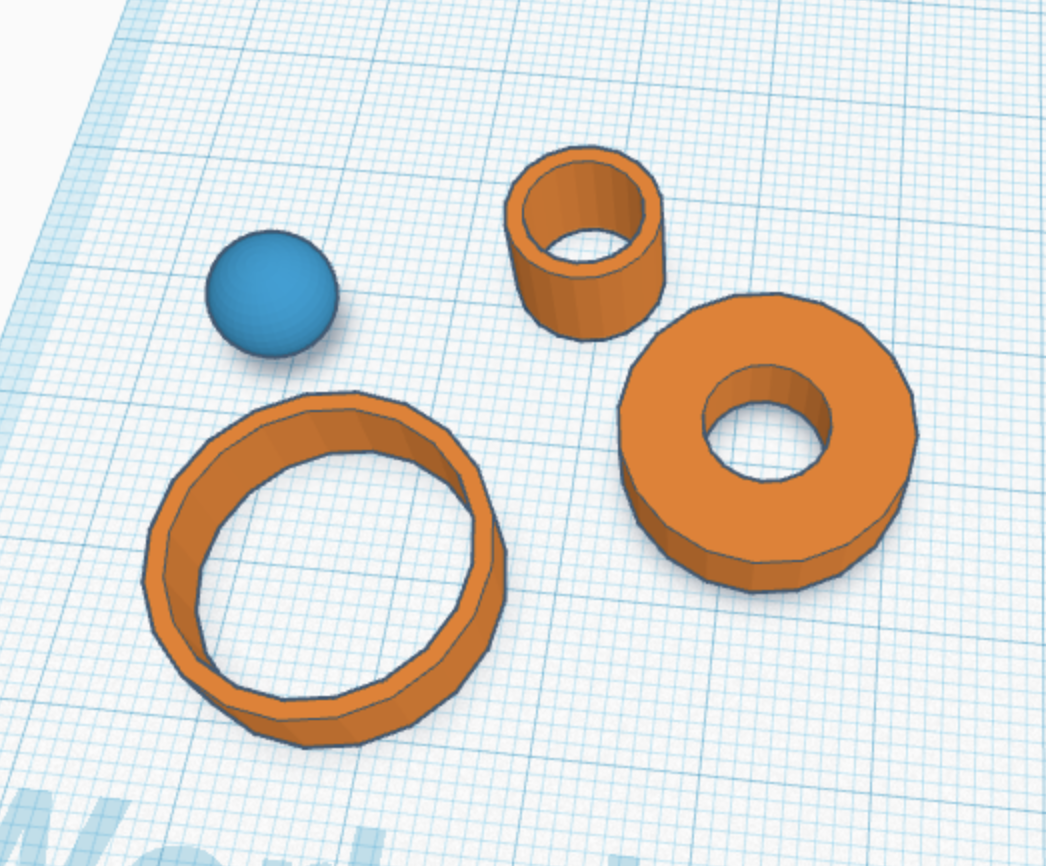
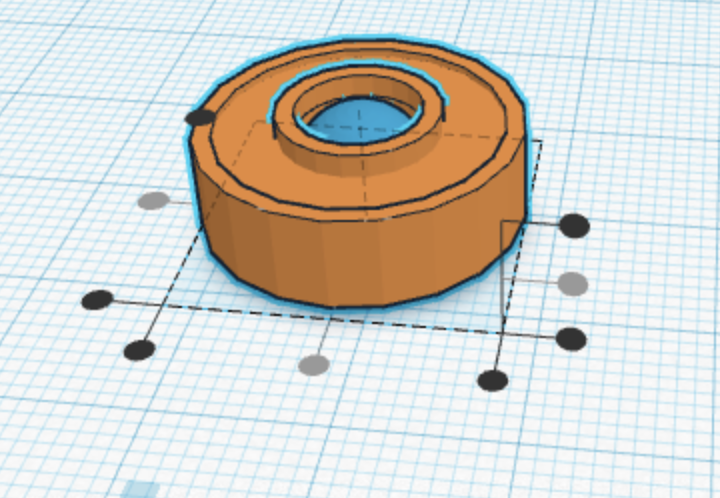
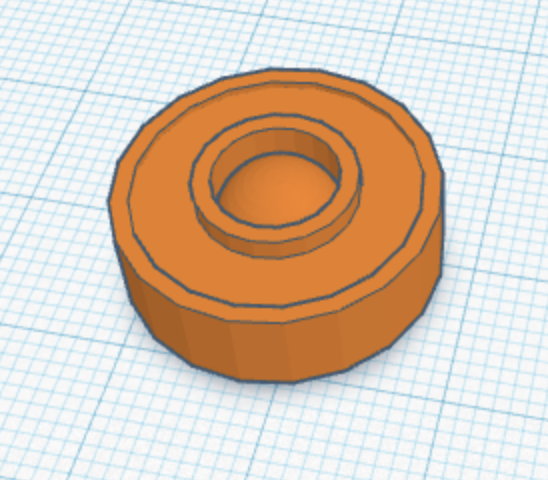
I'm just going to show some pictures of me making an easy cylinder pommel if you run out of cool ideas.
This simple cylinder pommel is just making each part separately, aligning and fusing. The tutorial video in the slides gives an even easier example that doesn't even include the center sphere.
Fusing the Pieces
Let's look at our inventory.
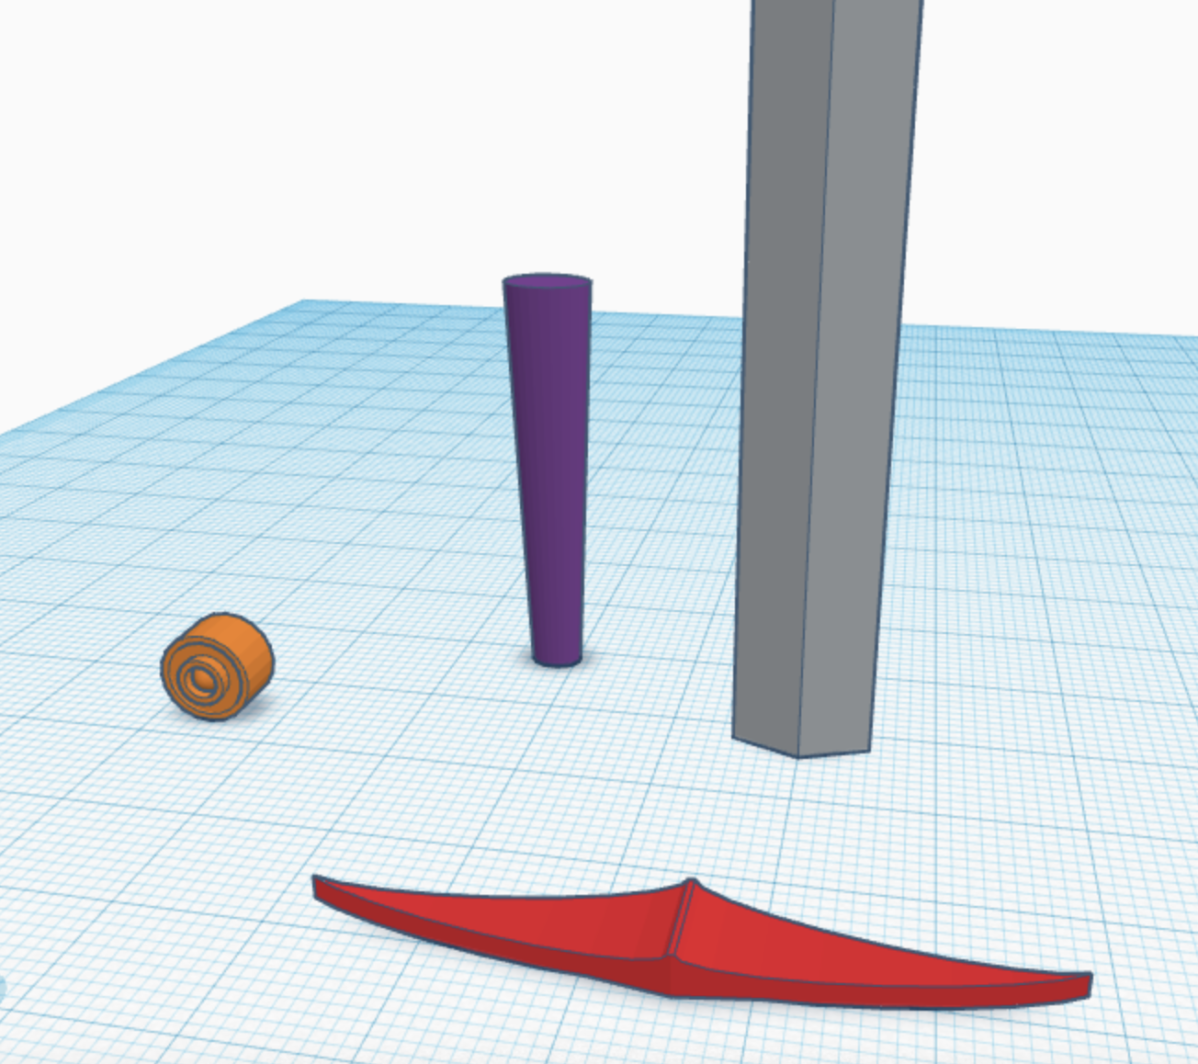
(I just made all of them a bit smaller because TinkerCAD was yelling at me about a size limit... oops)
A video of the fusing process is within the slides again, but this is basically just repeating what you did countless times before in order to put pieces together.
After some resizing and combination, we are (FINALLY) done!
(You can recolor parts by ungrouping it, then recoloring each piece by selecting it, clicking the "solid" button, and pressing a different color.)
Fit for a king!
Armory of Legends
Now, let's go ahead and show your swords to your peers!
Marvel at the creativity and skills of both yourself and those around you!
You can even think of unique powers for your swords, and write them into Dungeons and Dragons magic items!
Here's a cool website for that: https://homebrewery.naturalcrit.com/
Next steps???
If you want to move on with more modeling, there are many different ways to move forward!
First, I would recommend the "Build your own 3D club village" Jam by linkai101! It involves the use of Spline, a slightly more advanced web-based system.
It is here: https://code-jams.hackclub.dev/jam/3d-club-village .
Other Programs
One of the most common applications used by casual modelers is Blender, a free open-sourced modeling application. It requires downloading, though. Its devs are very good, and it regularly receives updates to introduce more functionality or make your experience better.
It's website is blender.org .
PROS:
- Really good for visual things (when you want something to look cool but don’t need it to work well as a piece of something)
- Functionality (has everything needed and can edit shapes in ways that other software cannot)
- Lots of tutorials (and a great documentation) online to follow if you are stuck
- Always Free
CONS:
- Cannot model parts if you are asking for precise measurement
- Takes a while to get used to all of its functionality
- Needs a download
Professional and industry modelers commonly use AutoDesk's Fusion 360, a paid modeling application that's really advanced and involves multiple simulation types. It also requires downloading, and normally costs quite a lot. However, some schools that partner with AutoDesk may have those for free! Check with whoever manages tech at your school to see if you can access Fusion for free!
It's website is here .
PROS:
- Really good for precise measurement parts
- Easy to learn, 99% of the time you’re using 2 functions
- Professional level, good for college applications or resume
- Lots of ways to assemble parts together within the application before you print
CONS:
- Hard to model things that look good on the level of Blender
- Hard to find tutorials that address the specific issue you have
- Hard to start learning (but gets easier once you get the basics)
- Only free for students, will not be free if you continue it after you graduate
Overall, AutoDesk has a lot of really good CAD applications, but most of them cost money unless you have a school subscription.
A Word of Thanks!
Thanks again for choosing this Jam and for choosing the wonderful world of 3D modeling!
Today, you built on your past skills and learned how to create the rest of the sword!
Next, you can try more complicated software, like Blender or Fusion 360.
Now go and make your dreams come true! Happy Crafting!!
Congratulations! 🎉 🎉 🎉If you're a highschooler who enjoys programming or tinkering with hardware, make sure to join Hack Club, the world's largest nonprofit empowering teenagers to make cool projects! There's tons of programs where you can get prizes for programming, get your hardware projects fully funded and you can join the awesome community of 100k+ teenagers who love making cool stuff (just like you!).